Agents
In the PhariaAssistant Chat application, you can define and engage agents, which are AI helpers that you customise to respond to your queries in a way you determine. For example, you can define an agent to summarise some technical documents for a general audience.
An agent is a customised tool that tailors PhariaAssistant to the specific context of your work, knowledge, and response requirements. You define an agent by describing to PhariaAssistant the help you want the agent to provide.
Invoking an agent in a chat
To invoke an agent during a chat:
-
In the chat window, enter
@.
Chat shows a list of available agents: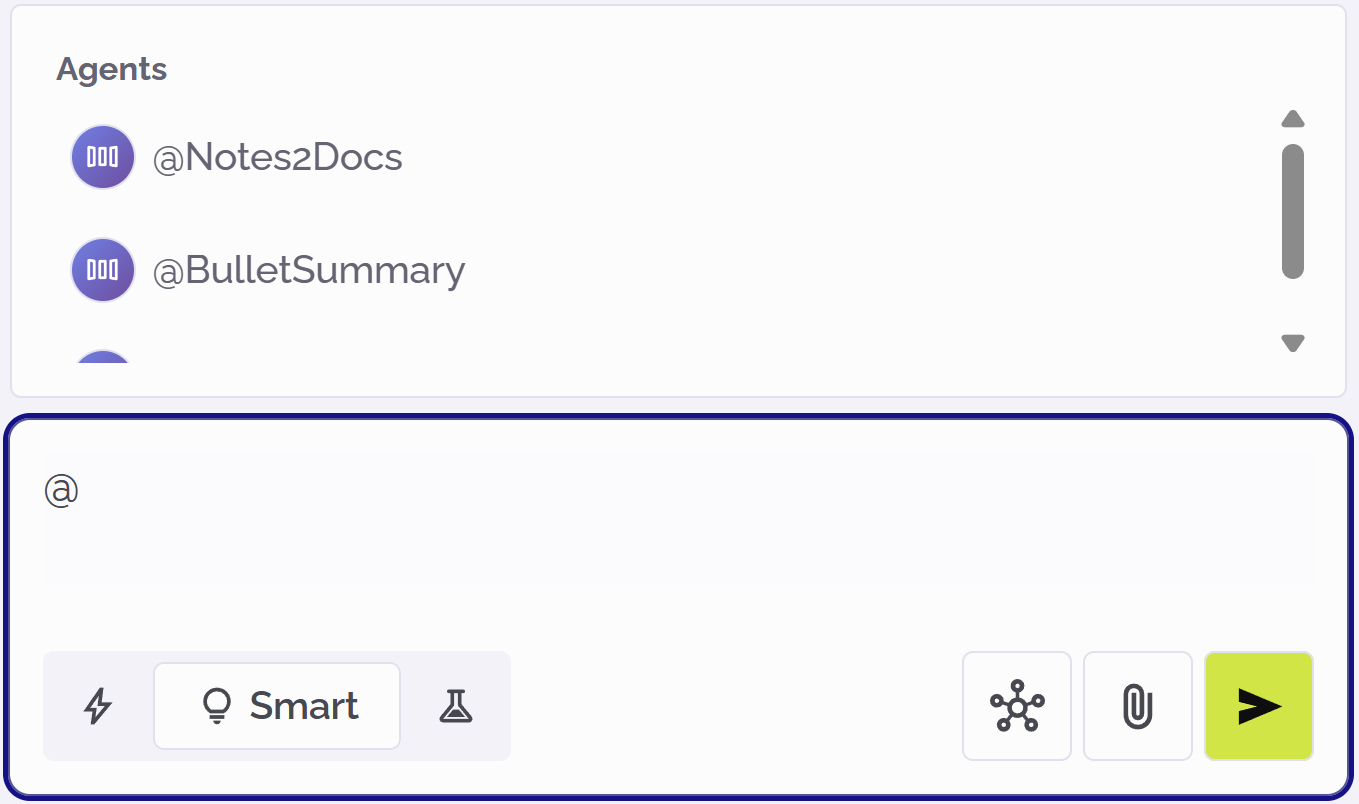
-
Select an agent from the list.
The agent’s name is displayed in the chat window. You can continue your chat with the selected agent activated:
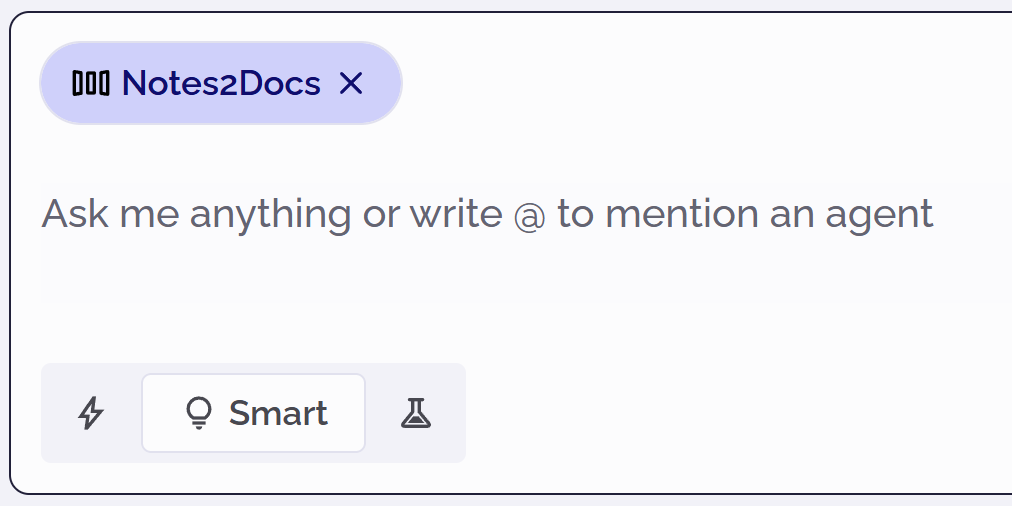
Note that only one agent can be active at a time. If you select an agent while another agent is already active, the newly selected agent replaces the earlier one.
Creating a new agent
-
Click Agents in the left sidebar.
Any existing agents are listed here: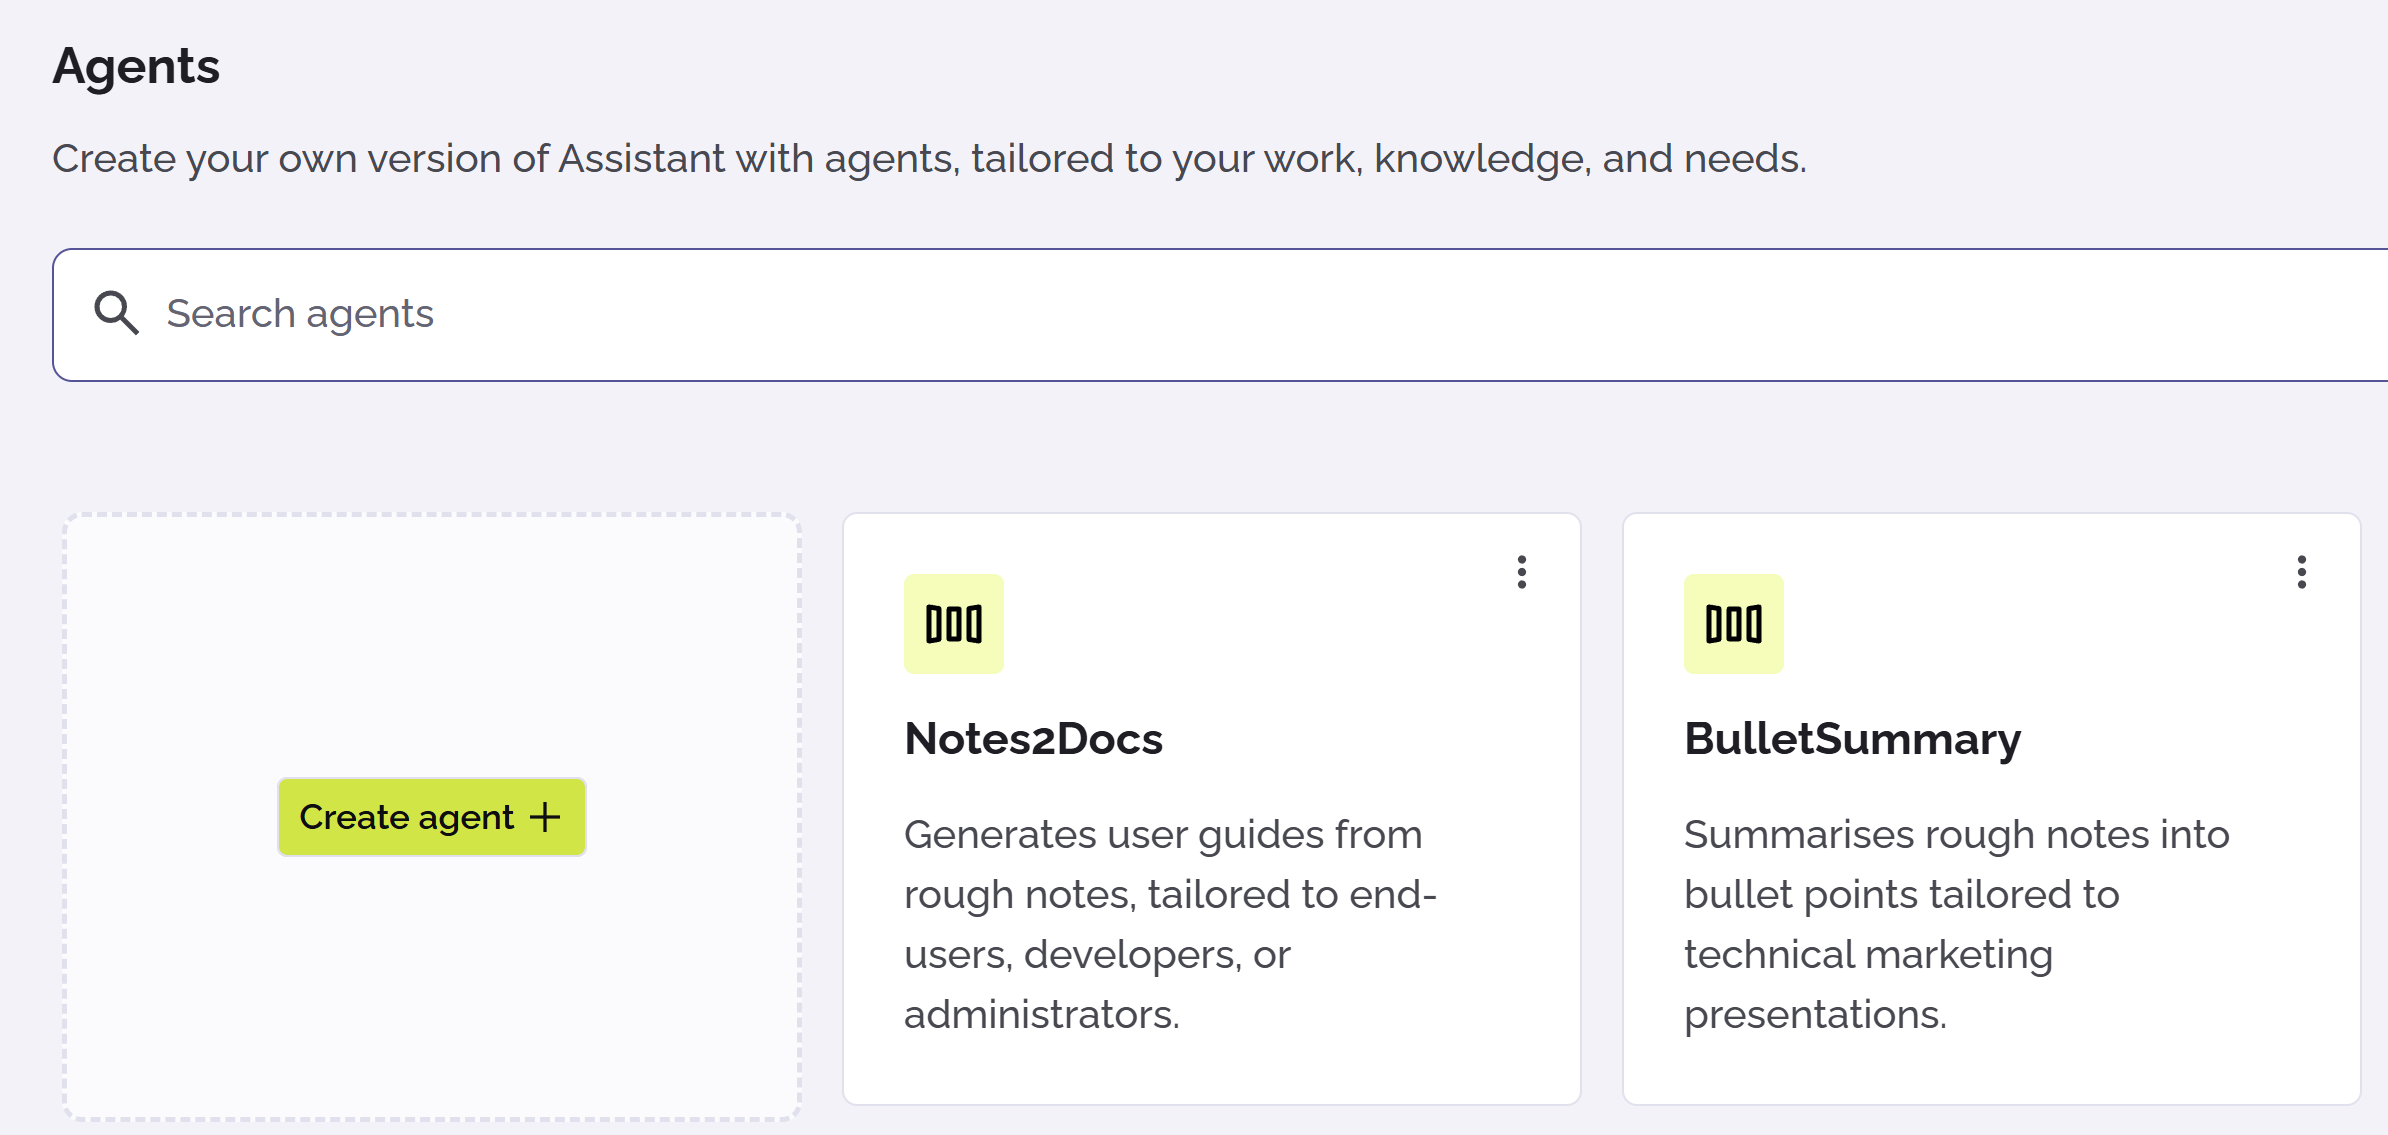
-
Click Create agent.
The create agent page appears. -
Add a concise description of the task that you want the agent to do.
-
Click
 or press Enter on your keyboard.
A dialog begins where you provide the instructions for the agent. But first, you need to name the agent. PhariaAssistant suggests names based on your description: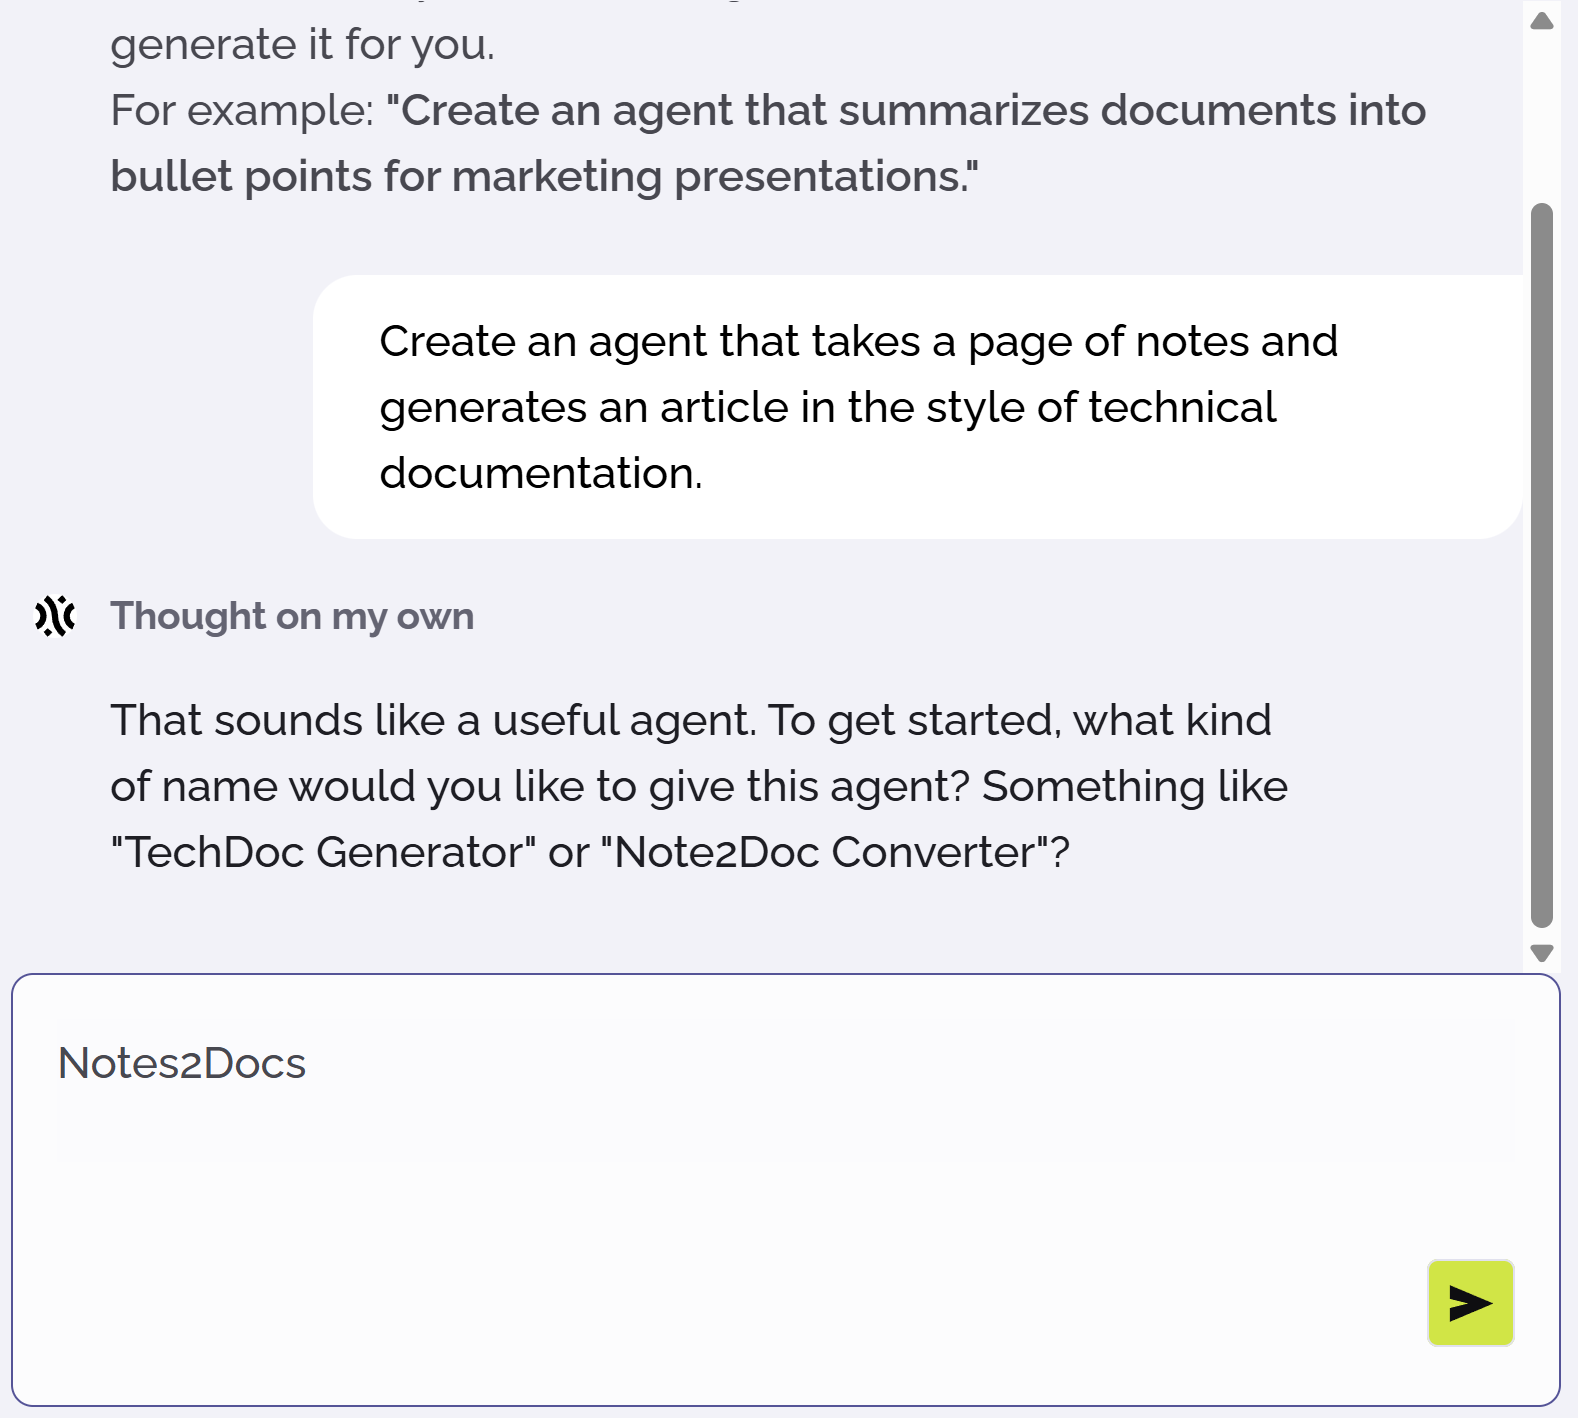
-
Enter a name for the agent. You refer to this name when you invoke the agent during a chat.
-
Click
or press Enter. -
Enter instructions about how the agent should help you. Provide as much detail as possible. For example, you might specify the type of inputs the agent should expect, and what style of output the agent should generate.
-
Click
or press Enter.
PhariaAssistant summarises the agent’s definition so far. It continues a dialogue with you about the agent’s precise behaviour, allowing you to explain more deeply your expectations.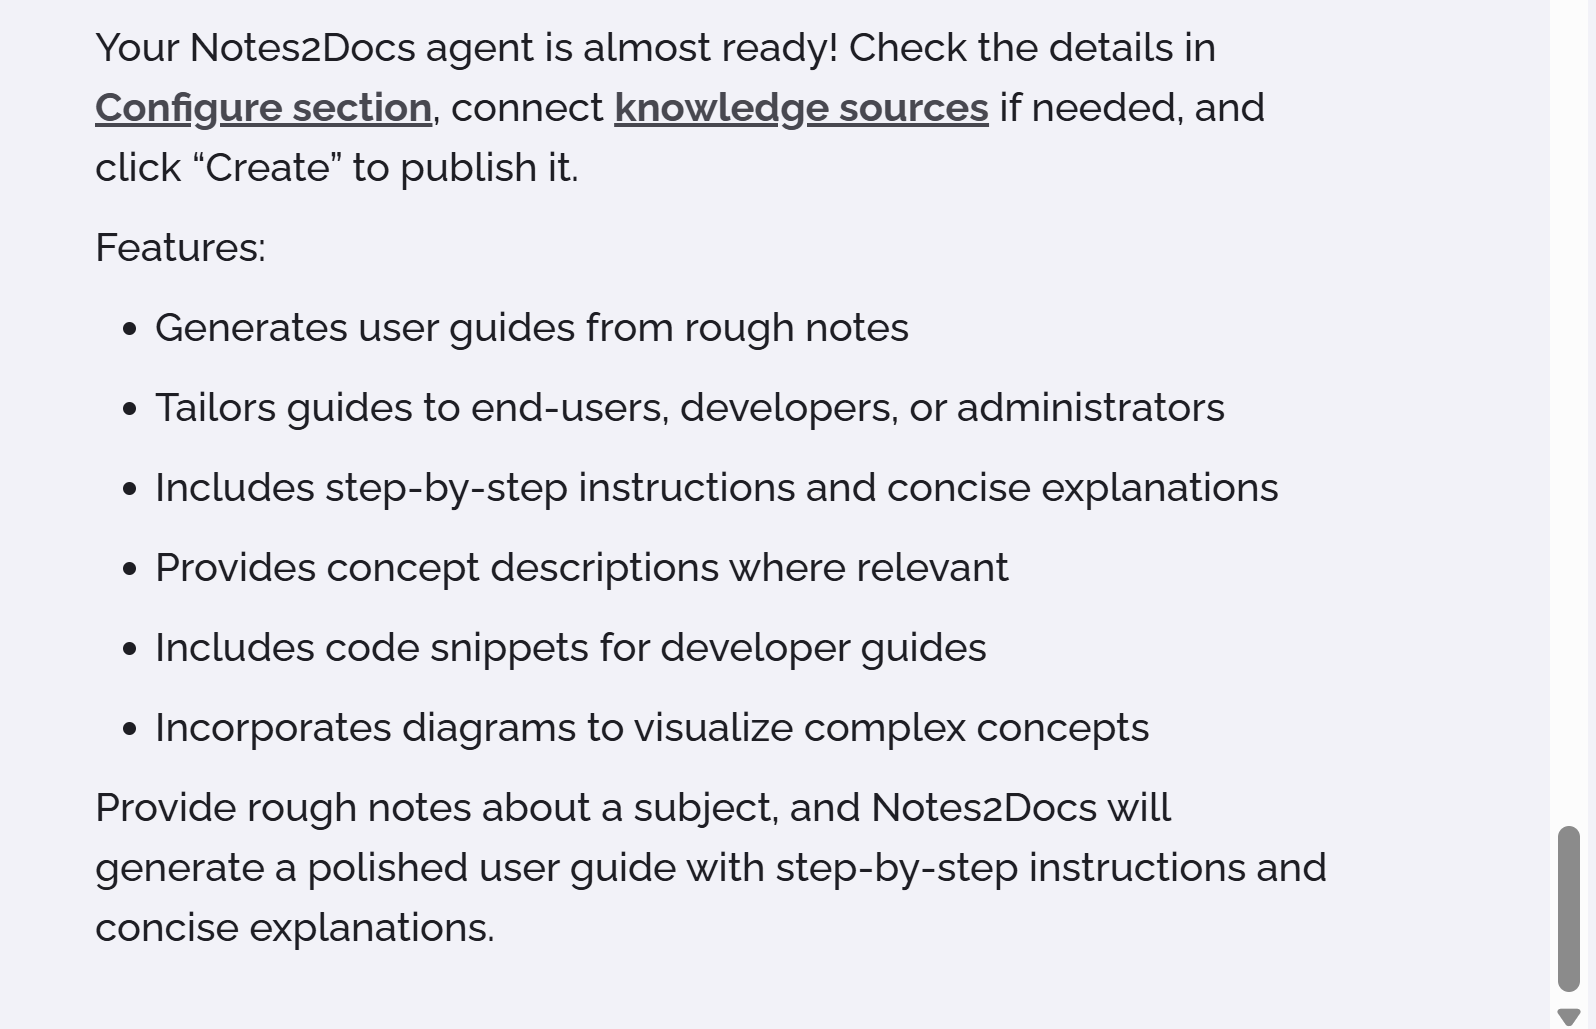
-
When you are satisfied with the agent definition, click the Configure tab.
On this tab, you can review the agent’s title, description, and instructions; you can edit these if necessary. -
Optionally, click Choose Icon and select an icon to represent your new agent.
-
Finally, click Create at the top right to save and register your new agent.
A message appears informing you that your agent has been created. You can click Try it to test your agent immediately, or Cancel to return to the Agents page.
Modifying an agent
To edit the definition of an agent:
-
Click Agents in the left sidebar.
PhariaAssistant displays your agents. -
Click the kebab menu icon
 in the card of the agent you want to edit.
 -
Select Edit from the dropdown menu.
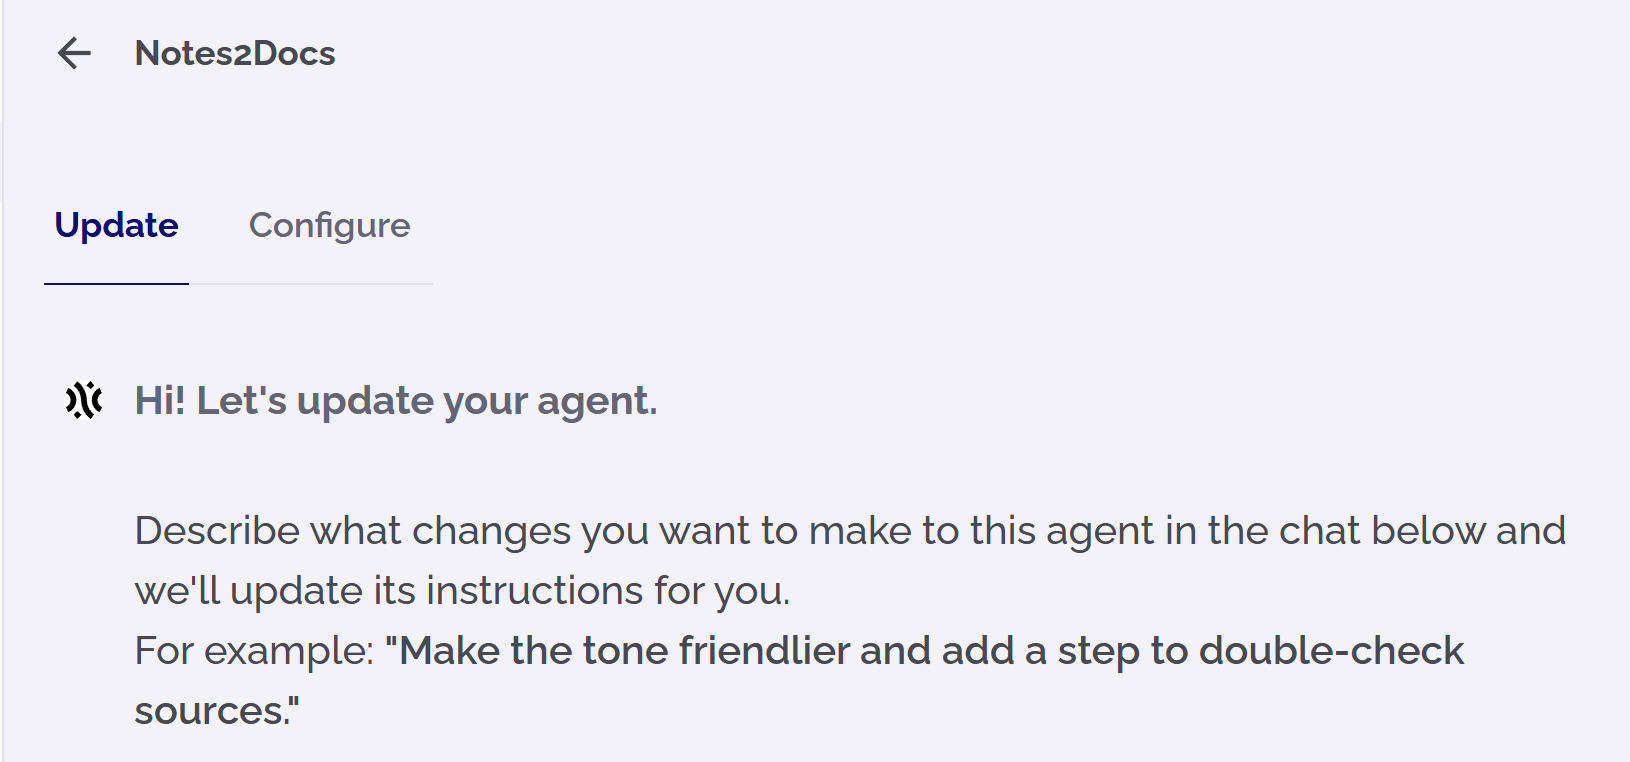
The update page appears asking you how you want to change your agent. -
In the chat field, describe the improvements you want to make to the agent. You can add as much detail as you want.
-
Click
or press Enter on your keyboard.
PhariaAssistant continues a dialogue with you about how to improve the agent. -
When you are satisfied with the updated agent definition, click Update at the top right to register your changes.
You now return to the Agents page.
Note that you can open the Configure tab to view and edit the original name, icon, description, and instructions for the agent.
Copying an agent
You can copy an existing agent definition into a new agent, and edit its definition as required. To do this:
-
Click Agents in the left sidebar.
PhariaAssistant displays your existing agents. -
Click the kebab menu icon
in the card of the agent you want to copy. -
Select Copy from the dropdown menu.
The create page appears asking you how you want to define your new (copied) agent. -
In the chat field, describe instructions you want to include with this new agent. Note that you can open the Configure tab to view the original title, icon, description, and instructions for the original agent.
-
In the Configure tab, give a new, unique name to the new agent.
-
Click
or press Enter on your keyboard.
PhariaAssistant continues a dialogue with you about how to refine the agent. -
When you are satisfied with the agent definition, click Create to save the new agent.
A message appears informing you that your agent has been created. You can click Try it to test your agent immediately, or Cancel to return to the Agents page.
Deleting an agent
To permanently delete an agent:
-
Click Agents in the left sidebar.
PhariaAssistant displays your existing agents. -
Click the kebab menu icon
in the card of the agent you want to delete. -
Select Delete from the dropdown menu.
-
In the confirmation popup, click Delete.
The deleted agent is removed from the list on the Agents page.