Configuring user and login options (legacy Zitadel documentation)
| Zitadel is deprecated. Support for it will end in a future version of PhariaAI. We recommend migrating to Dex to continue receiving updates and support. This article contains legacy Zitadel configuration instructions for existing installations only. |
For new installations
If you are setting up a new PhariaAI installation, do not use Zitadel. Instead, configure Dex during the installation process. See IAM configuration for detailed instructions on configuring Dex with your external OIDC identity provider.
For existing Zitadel installations
If you are using an existing Zitadel installation, please plan your migration to Dex as soon as possible. See Migrating from Zitadel to Dex for complete migration instructions.
The legacy Zitadel configuration instructions below are provided for existing installations that have not yet migrated to Dex.
Configuring Zitadel
This section guides you through configuring and using Zitadel as the identity provider for PhariaAI.
Installing PhariaAI with Zitadel
To install PhariaAI with Zitadel (only for existing deployments that cannot migrate to Dex immediately), use the configuration below.
You can provide custom credentials for the initial user account in the section pharia-iam.config. This user account is used for user management in the PhariaAI stack in the PhariaOS tool.
pharia-iam:
  config:
    # -- Init password of initial user. To be valid it requires to have 10-70 characters, including at least one uppercase letter, one lowercase letter, and one digit. User will need to change this password on the first login.
    adminPassword:
    # -- Enable management rights for Zitadel configuration
    adminEnableZitadelManagement: true

zitadel:
  enabled: true

dex:
  enabled: false
If you want to enable extra sign-up options such as self-sign-up or sign-up with SSO, you need to enable the rights to configure Zitadel by setting pharia-iam.config.adminEnableZitadelManagement: true. This grants the rights to configure sign-up options to your initial user account.
Post-installation steps
After installation, navigate to https://login.<YOUR_CONFIGURED_DOMAIN>/ and log in with the initial user account (configured in the Helm chart values pharia-iam.config) to complete the setup of the initial user credentials.
If you did not provide a custom initial user account password, you can display the autogenerated password with the following command:
kubectl get secret pharia-iam-admin-password -o jsonpath="{.data.password}" | base64 -dEnabling SSO with an external identity provider (Zitadel)
The internal identity provider of PhariaAI, Zitadel, offers the possibility to integrate external identity providers for single sign-on (SSO).
This allows users to log in to PhariaAI with their existing account from a company identity provider, such as Google, Microsoft, or Okta.
Prerequisites
-
The flag
pharia-iam.config.adminEnableZitadelManagementwas enabled during the installation of PhariaAI. See IAM configuration.
Configure an external identity provider
-
Open the Zitadel console
-
Navigate to the Zitadel console at
https://login.<YOUR_CONFIGURED_DOMAIN>and log in with your initial user account. -
If you land on the info page of your admin account, navigate to
https://login.<YOUR_CONFIGURED_DOMAIN>/ui/console, or click the logo in the top left corner. If this has no effect, you probably logged in with the wrong account.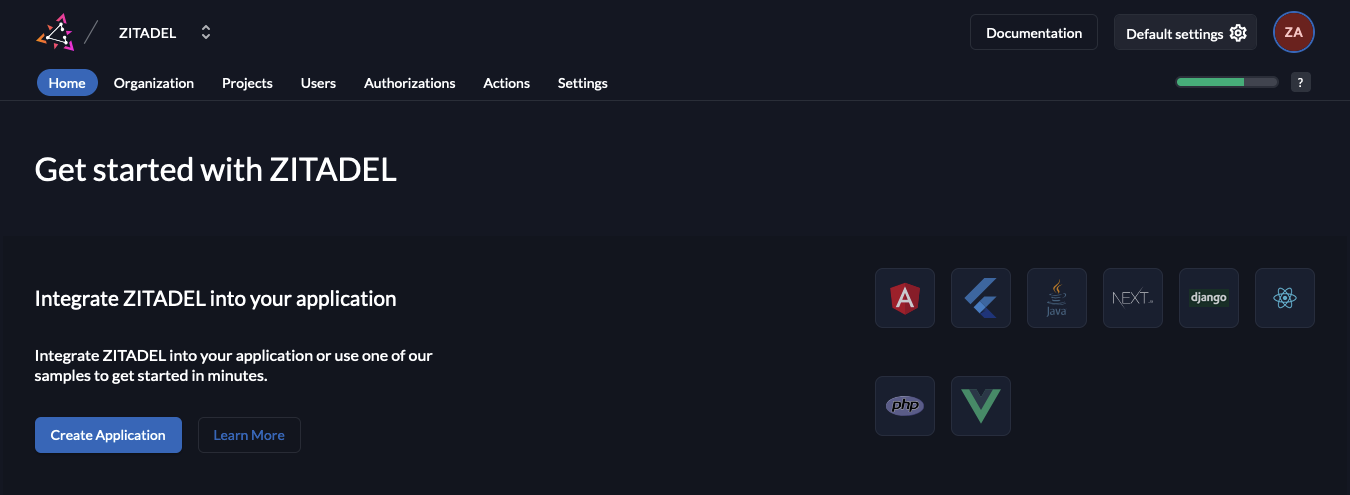
-
-
Add an external identity provider
-
Select the Pharia organisation:
-
In the Settings tab, select Identity Provider. Here you find a list of preconfigured external identity providers. Select the desired provider and follow the instructions.
-
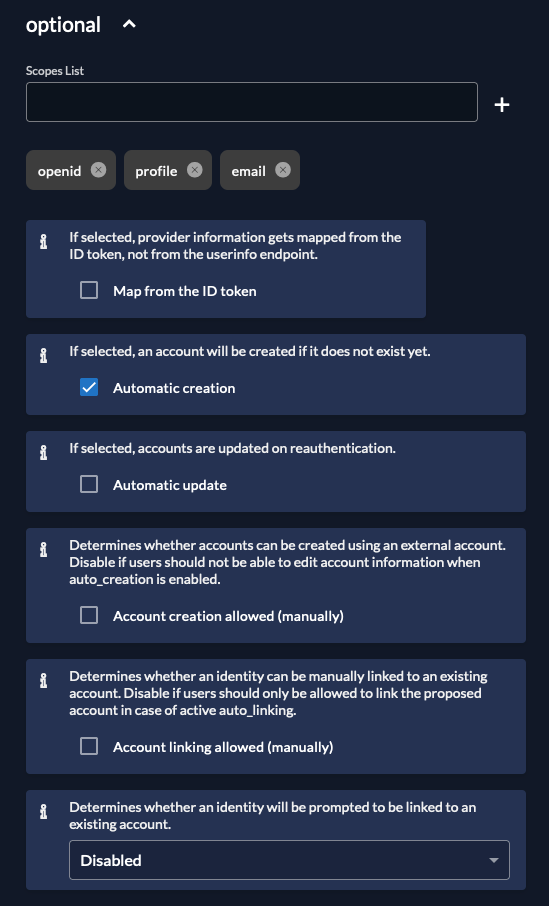
Some identity providers do not provide email verification information, although the email address is already verified. In this case, check the box Email verified to prevent any additional email verification steps:
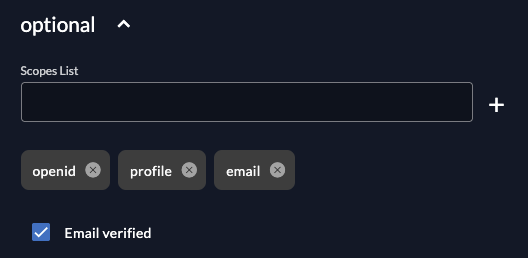
-
We recommend allowing accounts to be created automatically only. Enable this by selecting the following options:
-
Click Activate to activate the identity provider.
-
| For more information on how to configure external identity providers, see the Zitadel documentation. |
Enable SSO in the login page
-
Enable external login for the Pharia organisation
-
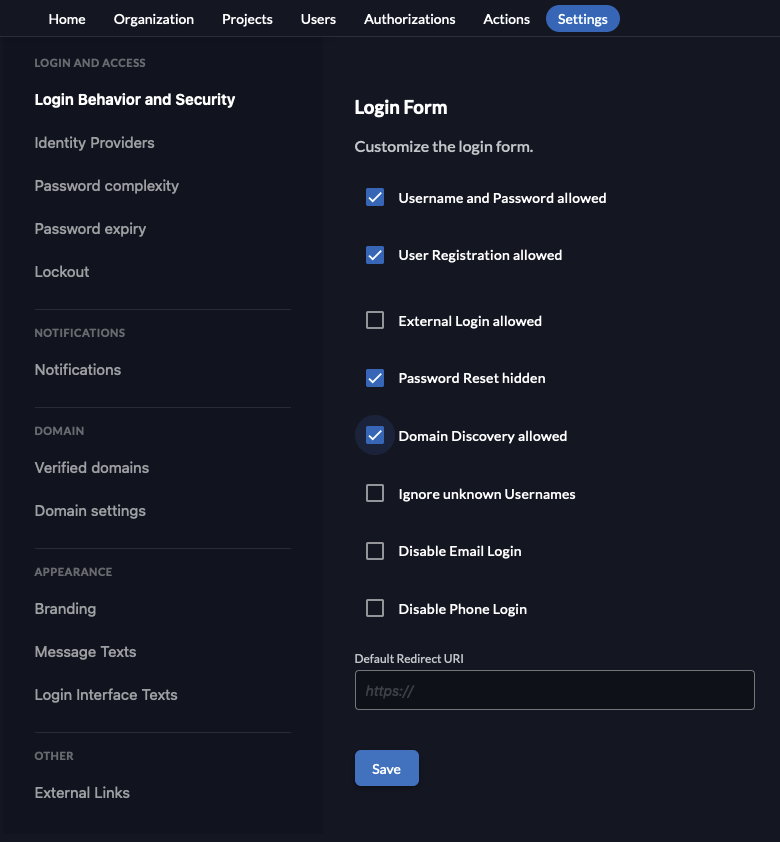
In the Settings tab, select Login Behavior and Security.
-
On the bottom of the page, check the box for External Login allowed.
-
Click Save.
-
-
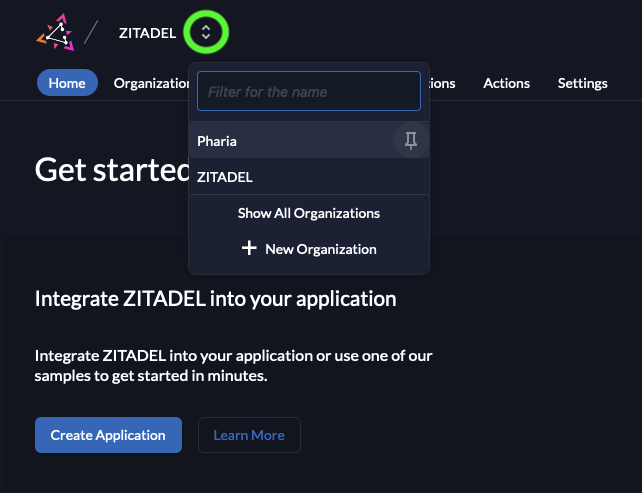
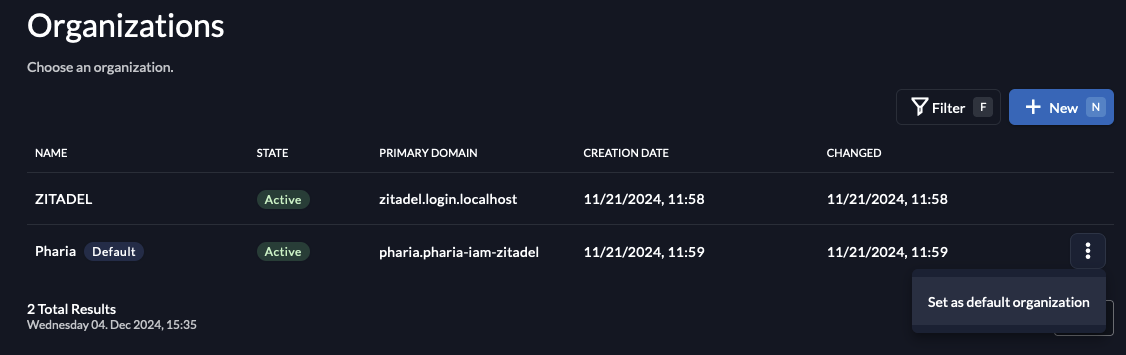
Make Pharia the default organisation
-
Click the two arrows next to the organization name in the top left and select Show All Organizations:

-
Click the kebab menu icon
 next to the Pharia organisation line in the table and select Set as default organization:
-
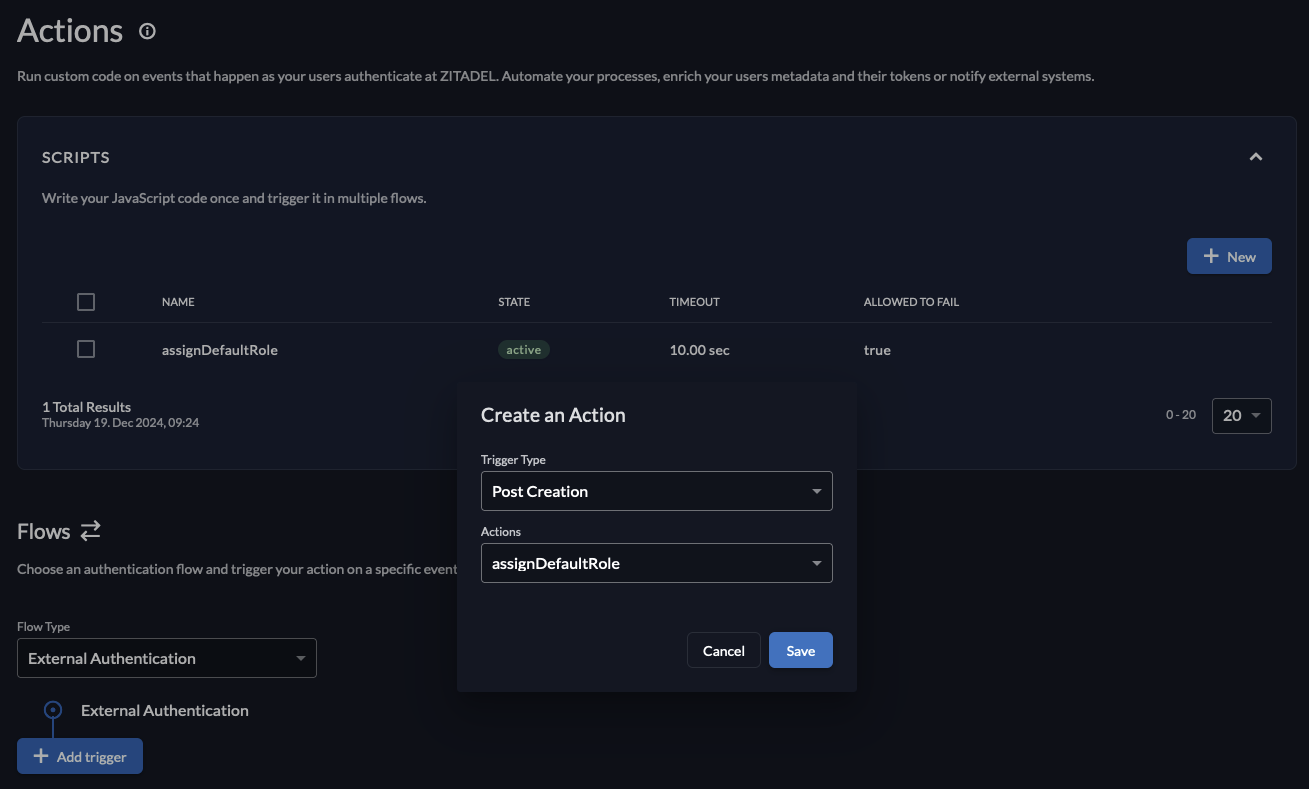
Configure default roles for federated users
To access any resource in PhariaAI, a user must be assigned a role. You can configure default roles for federated users to be assigned on the first login.
-
Go to the Actions tab.
A default action calledassignDefaultRoleis already present. By default, this action assigns theAssistantUserrole. If you want to assign a different default role, change this in the values underpharia-iam.config.defaultRolesForLogin. -
Select the flow type
External Authentication. -
Click Add Trigger.
-
Select the trigger type Post Creation.
-
Select the action
assignDefaultRole. -
Click Save.
Enabling self-sign-up (Zitadel)
PhariaAI uses Zitadel as an identity provider. Zitadel provides a self-service registration flow that allows users to sign up for an account without the need for an administrator to create an account for them.
Using this flow, a user can sign up for an account by providing their email address and a password. They then receive a verification email to confirm their email address and complete the registration process.
We recommend to filter the email addresses to allow only those users with a specific email domain to sign up.
| Self-registration with username/password is not supported in Dex. After migrating to Dex, all users must authenticate through an external identity provider. See Migrating from Zitadel to Dex for details on the authentication changes. |
Prerequisites
-
You enabled the flag
pharia-iam.config.adminEnableZitadelManagementduring the installation of PhariaAI. -
You have an email provider that you can use to send verification emails.
Configure an email provider
To enable self-sign-up, you must configure an email provider in Zitadel. This is needed to send verification emails to users who sign up for an account. You can use one of the pre-configured email providers or any other email provider that supports SMTP or API-based email sending.
-
Open the Zitadel console
-
Navigate to the Zitadel console at
https://login.<YOUR_CONFIGURED_DOMAIN>and log in with your initial user account. -
If you land on the info page of your admin account, navigate to
https://login.<YOUR_CONFIGURED_DOMAIN>/ui/console, or click the logo in the top left corner. If this has no effect, you probably logged in with the wrong account.
-
-
Configure an email provider
-
Click Default settings on the upper right.
-
Navigate to the Email Providers section.
-
Add your preferred email provider by clicking its icon and following the instructions.
-
Enable self-registration
-
Open the Zitadel Console
-
Click the logo at the top left to return to the main screen.
-
-
Enable self-sign-up and domain discovery for the Pharia organisation
-
Select the Pharia organisation:
-
In the Settings tab, select Login Behavior and Security.
-
On the bottom of the page, check the boxes for User Registration allowed and Domain Discovery allowed:
-
Click Save.
-
Navigate to the settings for Verified domains.
-
If the email domain of your company does not already appear here, add it by clicking + New and following the instructions.
-
-
Install check for correct domain on sign up
-
In the Actions tab, click + New to create a new action.
-
Give the action the same name as the function defined in the action; in our example:
filterRegistration. -
Copy the following code and paste it into the editor. Note that you need to replace the example domains with the domains you want to allow for sign-up, and you can add more domains if required:
 /**
** Only allow users with a given domain to register
 *
** Flow: Internal Authentication or External Authentication, Trigger: Pre creation
 *
** @param ctx
** @param api
 */
 function filterRegistration(ctx, api) {
 let validDomains = ["domain1.com", "domain2.com"];
 let isValid = false;
 for (const domain of validDomains){
 if (ctx.v1.user.human.email.endsWith("@" + domain)) {
 isValid = true;
 break;
 }
 }
 if (!isValid){
 throw "email needs to be from domain " + validDomains.join(", ");
 }
 }
For further information on how to write actions, see the Zitadel documentation. -
Disable the box Allowed To Fail.
A warning is displayed to inform you that any coding errors (for example) may prevent users to register. However, we specifically want to prevent registration from users with an invalid domain, so you can close the warning. -
Click Add.
-
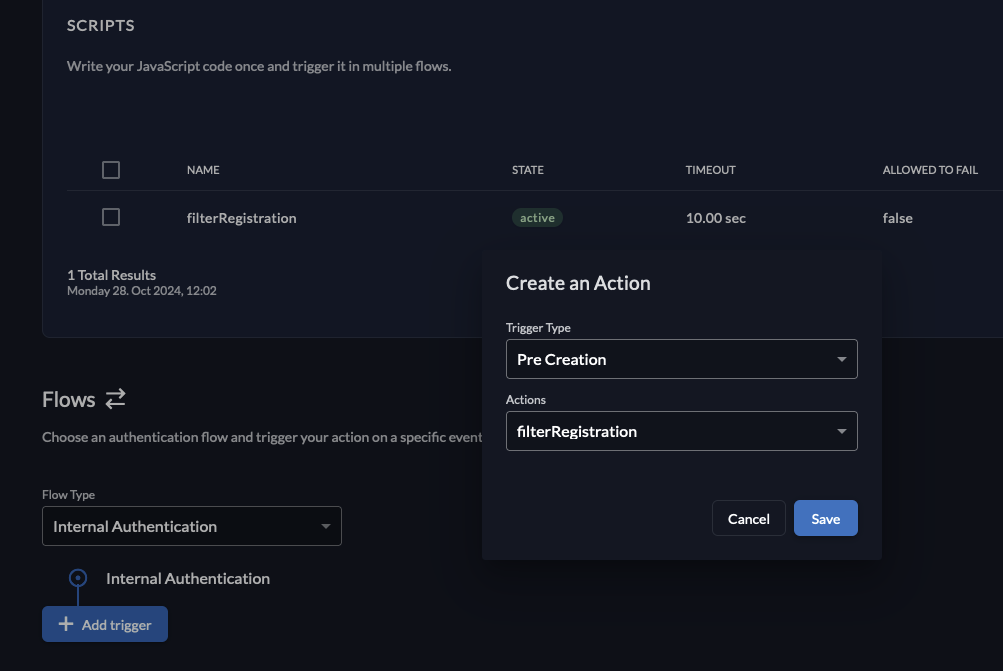
Select the flow type Internal Authentication.
-
Click Add Trigger.
-
Select the trigger type Pre Creation.
-
Select the previously created action.
-
Click Save.
-
Optional: Configure default roles for self-registration
To access any resource in PhariaAI, a user must be assigned a role. You can configure default roles for federated users to be assigned to newly registered users.
-
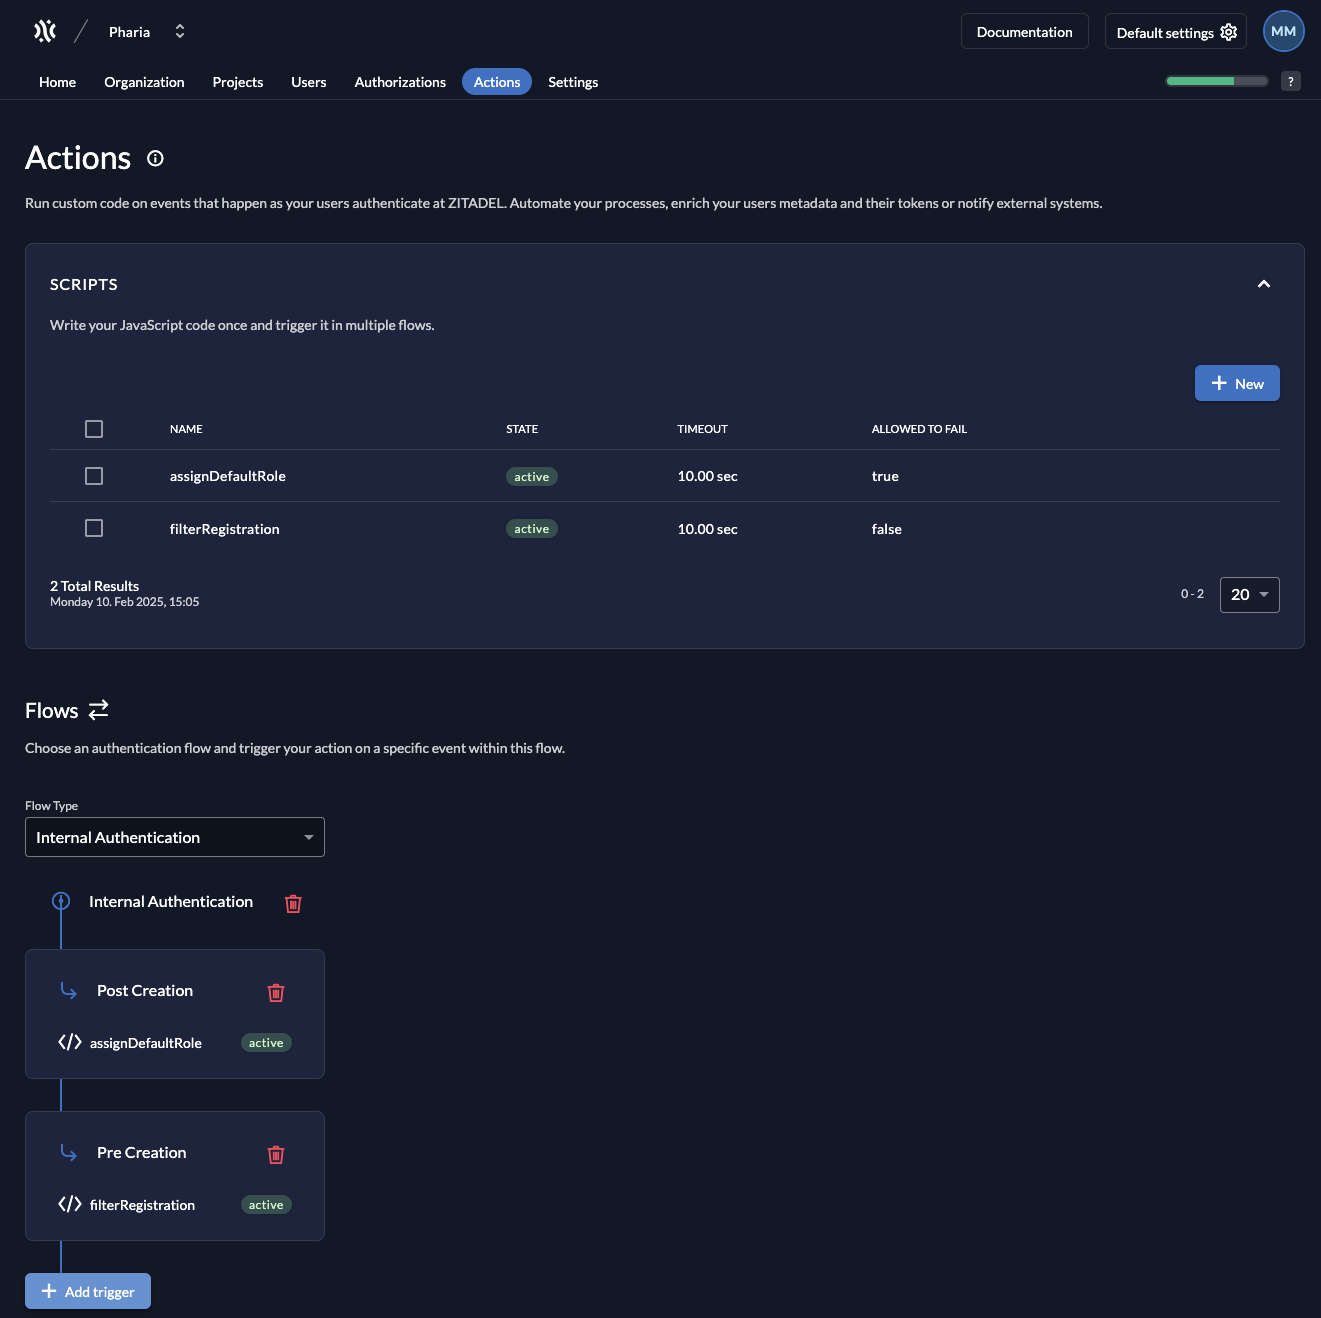
Go to the Actions tab.
A default action calledassignDefaultRoleis already present. By default, this action assigns theAssistantUserrole. If you want to assign a different default role, change this in the values underpharia-iam.config.defaultRolesForLogin. -
Select the flow type
Internal Authentication. -
Click Add Trigger.
-
Select the trigger type Post Creation.
-
Select the previously created action.
-
Click Save.