PhariaFinetuning Guided Walk-through
In this tutorial, we'll go through the full finetuning workflow, starting from downloading the dataset, converting it into the required format, uploading it, choosing the hyperparameters, starting a finetuning job and deploying the model.
Dataset
For the dataset we will use LDJnr/Pure-Dove dataset from huggingface which contains over 3.8K multi-turn examples.
Putting the data in the right format
Since the dataset is slightly different from the format needed for the finetuning service, we will adapt it with the following script.
import json

from datasets import load_dataset


def convert_to_messages_format(conversation):
    """Convert a conversation with multiple turns to the desired message format."""
    messages = []

    # Process each turn in the conversation
    for turn in conversation:
        # Add user message
        messages.append({"role": "user", "content": turn["input"]})

        # Add assistant message
        messages.append({"role": "assistant", "content": turn["output"]})

    # Create the final dictionary structure
    return {"messages": messages}


def convert_dataset_to_jsonl(output_file="formatted_data.jsonl"):
    """Convert the entire dataset to JSONL format."""
    # Load the dataset
    ds = load_dataset("LDJnr/Pure-Dove")

    # Open the output file in write mode
    with open(output_file, "w", encoding="utf-8") as f:
        # Process each example in the training set
        for example in ds["train"]:
            # Convert the conversation to the desired format
            formatted_data = convert_to_messages_format(example["conversation"])

            # Write the formatted data as a JSON line
            json.dump(formatted_data, f, ensure_ascii=False)
            f.write("\n")


if __name__ == "__main__":
    # Convert the dataset and save to formatted_data.jsonl
    convert_dataset_to_jsonl()
    print("Conversion completed! Check formatted_data.jsonl for results.")
Now you have a file called formatted_data.jsonl that is in the desired chat format.
Uploading the data
The finetuning service allows users to upload data via the API before starting their finetuning jobs.
You can upload the data through the Swagger UI at:
https://pharia-finetuning-api.<YOUR_CONFIGURED_URL_POSTFIX>/docs#/
where <YOUR_CONFIGURED_URL_POSTFIX> is the URL postfix configured during the installation of the Pharia-finetuning Helm chart.
- Go to the PhariaStudio page and log in if necessary
- In the upper right corner, click on your profile
- In the popup, click on
Copy Bearer Token

Once you have the token:
- Click on the "Authorize" button in the top-right corner of the Swagger UI.
- Paste your token to authenticate.
- After authorization, you can safely close the popup window.

Upload dataset using the /api/v1/finetuning/datasets route in Swagger UI.
You will get the following response:
{
  "dataset_id": "<your-dataset-id>",  # example "2dbac66e-b405-498e-8e1c-7c284d700266"
  "validation_dataset_id": null,
  "limit_samples": null
}
Now that we have uploaded our data, we are ready to put it to good use and finetune our model.
Finetuning
Job Submission
Follow these steps to submit a finetuning job:
- Click on the
/api/v1/finetuning/jobsendpoint to start a new job. - Click "Try it out" to enter your parameters.
- Fill in the request body with the necessary parameters:
You can choose whatever LLAMA model by inserting the following text:
meta-llama/Llama-3.1-8B-Instruct in the model_name field.
In the dataset_id you can put the dataset_id from the upload part before.
The finetuning type allows the user to choose between a full Supervised Finetuning (SFT) or using Low-Rank Adaptation (LoRA) as a Performance Efficient Finetuning (PEFT) alternative. In this case, we will perform a full finetuning by choosing full instead of lora.
You can choose to change the existing hyperparameters n_epochs, learning_rate_multiplier and batch_size or you can leave them as is.
- Once submitted, you will receive a
submission_idin the response underjob_id. This serves as the unique identifier for your job.
Job Status
You can use this submission_id to checkout the status of your job via the /api/v1/finetuning/jobs/{job_id} route.
- Since this is a POST route, click "Try it out".
- Enter the
job_id(it's the same assubmission_id) you want details for and click "Execute". - The response will be a single JSON object containing job details.
Now you can see the status of your training, you can also see the loss and the evaluation metrics such as perplexity via the same route.
Once the training has finished, you have a finetuned model, congratulations! 🎉
Let's now move to the deployment part.
Deploying
Moving the weights to the worker
First step is to make the model available to the worker, so it could pick it up and deploy it.
To do this you need to add the following configuration to the values.yaml file for the installation of pharia-ai-models helm chart:
models:
  - name: models-<you-model-name> # must be a lowercase
    pvcSize: 100Gi
    weights:
      - s3:
          # TODO: align this with finetuning API Job object. this is the first part of the checkpoints field in the finetuning API Job object
          endpoint: <your-storage-endpoint> # your storage endpoint
          # this is the second part of the checkpoints field in the finetuning API Job object
          folder: <path for you model weights inside you storage> # has to end with checkpoint.ckpt
          targetDirectory: <you-model-name>

s3Credentials: # use the same credentials you use in the pharia-ai helm chart values in pharia-finetuning
  accessKeyId: ""
  secretAccessKey: ""
  profile: "" # can be left empty
  region: ""
Further information on downloading model weights from object storage can be found here.
To trigger the download your finetuned model you need to re-deploy the models helm chart. Further information on how to deploy the changes can be found here.
This makes the model available to be served by inference workers which are configured in the next step.
Now that we have moved the weights and the worker can see them, we need to configure the worker.
Configuring the worker
To configure the worker, we add the following configuration to the values.yaml file that we use to install the pharia-ai helm chart.
inference-worker:
  ...
  checkpoints:
    ...
    - generator:
        type: vllm
        pipeline_parallel_size: 1
        tensor_parallel_size: 1
        model_path: /models/<you-model-name>
      queue: <you-model-name>
      replicas: 1
      modelVolumeClaim: models-<you-model-name>
basically this configuration determines whether you want to shard your model or not or how many replicas of your model should be deployed among other things.
Further information on worker deployment can be found here.
The final step now is to tell the scheduler that we have a newly configured worker ready to start.
Make the scheduler aware of the new worker
We can achieve this by adding the following configuration to the values.yaml file, the same one from the previous step.
inference-api:
  ...
  modelsOverride:
    ...
      <you-model-name>:
        checkpoint: <you-model-name>
        experimental: false
        multimodal_enabled: false
        completion_type: full
        embedding_type: null
        maximum_completion_tokens: 8192
        adapter_name: null
        bias_name: null
        softprompt_name: null
        description: Your description here
        aligned: false
        chat_template:
          template: |-
            {% set loop_messages = messages %}{% for message in loop_messages %}{% set content = '<|start_header_id|>' + message['role'] + '<|end_header_id|>

            '+ message['content'] | trim + '<|eot_id|>' %}{% if loop.index0 == 0 %}{% set content = bos_token + content %}{% endif %}{{ content }}{% endfor %}{{ '<|start_header_id|>assistant<|end_header_id|>

            ' }}
          bos_token: <|begin_of_text|>
          eos_token: <|endoftext|>
        worker_type: vllm # this needs to be the same worker type as defined in step 2
        prompt_template: |-
          <|begin_of_text|>{% for message in messages %}<|start_header_id|>{{message.role}}<|end_header_id|>

          {% promptrange instruction %}{{message.content}}{% endpromptrange %}<|eot_id|>{% endfor %}<|start_header_id|>assistant<|end_header_id|>

          {% if response_prefix %}{{response_prefix}}{% endif %}
Now you are good to go, you have successfully downloaded, formatted and uploaded new data, finetuned a model and deployed it.
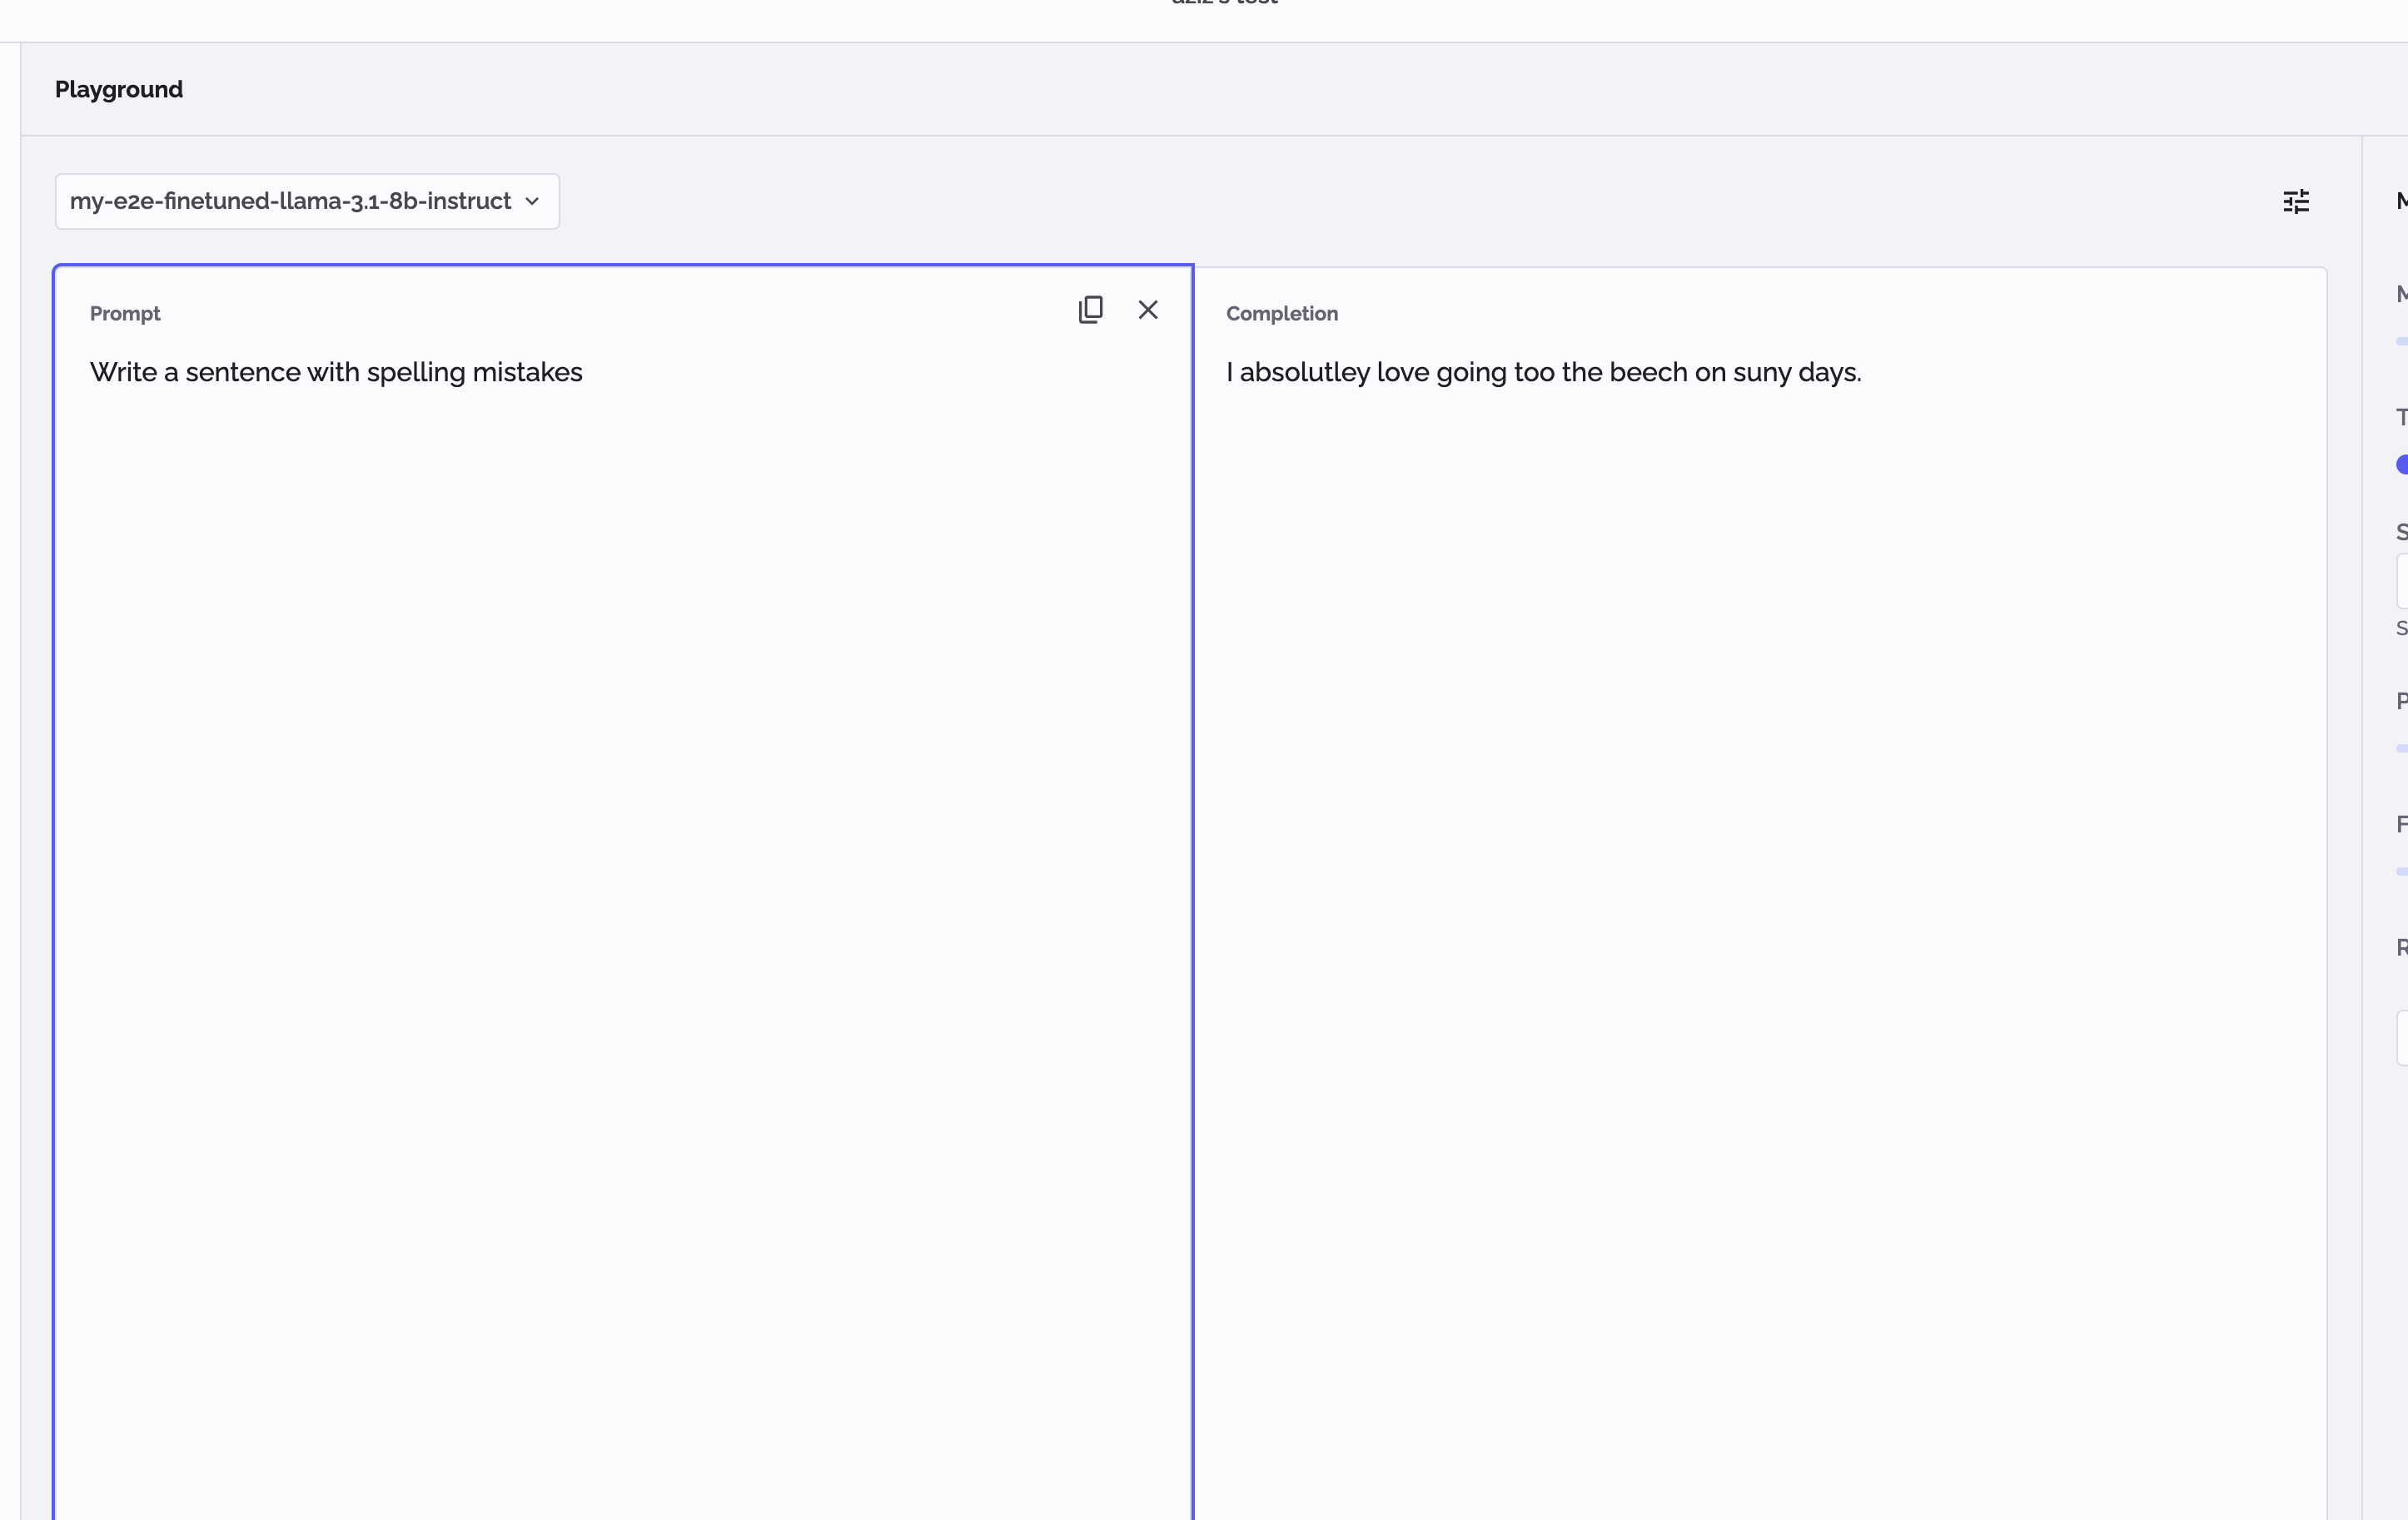
You are now able to see the finetuned model in studio, and we can verify that the model has been finetuned by asking this question from the dataset:
Write a sentence with spelling mistakes.